Beat the memory crisis with my 5 photography workflow tips, and today’s lowest prices on portable SSDs | Daily Reports Online
If you have tried to buy one of the best portable SSDs recently, you have likely noticed a painful reality: storing photos and videos has become an incredibly expensive business. Over the past year, flash memory prices have skyrocketed, with some popular portable SSDs doubling or even tripling in cost. For photographers and videographers, who routinely generate many gigabytes of data on a single shoot, this price hike has turned a standard administrative task into a massive financial headache.
The underlying problem is a classic case of demand exceeding supply, which has unfortunately triggered a knock-on effect on pricesacross the entire industry. As high-speed Solid State Drives (SSD) became more costly and harder to source, creators naturally looked for alternatives, driving up the prices of traditional mechanical hard drives (HDDs) in the process. When you couple expensive backup drives with modern cameras that churn out massive file sizes, ignoring your storage workflow is no longer an option. Desperate times call for desperate measures, and it is time to change how we manage our data.
Fortunately, you don’t need to empty your bank account to keep your portfolio safe. Surviving this storage crunch is not about buying the biggest, fastest drive on the market – it’s about working smarter with the tools you already have. By adopting a strict digital diet, separating your fast working drives from your slower archival backups, and rethinking your camera settings before you fire the shutter, you can reduce your storage footprint without sacrificing your creative freedom.
In this guide, I share the exact strategies I use to navigate these rising costs. From sourcing high-capacity secondhand bargains safely to exploiting hidden compression settings in a camera’s built-in menus. I cover why changing your shooting habits can save you terabytes of space in the long run, how to avoid the hidden costs of a hardware upgrade, and how to build a rock-solid backup system on a budget. And if you absolutely must buy new hardware, I’ve also rounded up the best flash storage deals available right now, so you can expand your setup for less.
1. Use HDDs for back ups
HDD drives, also called mechanical Hard Disk Drives, use a spinning disk inside of the hard drive enclosure to store files. Because there’s a disk with a needle, a little bit like a vinyl player, it takes longer to locate and find your files and also write data to HDDs. Flash storage, such as the SSDs which we’ve seen explode in value over the past year, work much in the same way as your camera’s memory card and can locate files instantly and write much faster – but that comes with a higher price tag.
To keep costs down, the trick is to keep all of your archived content and finished projects on the more affordable HDDs as soon as you can. SDDs are great for working on live projects due to their speed, reliability and portability. You can use one of the best portable SSD drives or the flash hard drive on your laptop, so you’re not limited by the speed of an HDD when you’re working on live projects.
With SSDs going up in price this has had a knock on effect with the price of the best HDD drives being pushed up too. I’ve actually been buying up cheap second hand HDD drives from Facebook Marketplace where I can get much more gigabytes for my dollar. I must stress second-hand drives are a risky business and I always check them with a drive health checker first too, such as CrystalDiskInfo. I only use HDDs for backing up files, so if my second-hand drives ever fail, I at least have another copy somewhere else.
2. Cull your photos
In years gone by I would say there’s not a lot of point going through drives and deleting your ‘duff’ shots or video. However, because we’ve seen some storage drives double, or even triple in price in just the past 12 months alone, desperate times call for desperate measures.
Currently, when I import a batch of photos I think carefully whether I really want to take up valuable space on my hard drives with shots that are never going to see the light of day. This has helped me be more self critical of my work, and motivated me to absolutely nail compositions, focus and exposure settings every time I’m out shooting.
Once a project has been delivered I might even go as far as to go through and delete images that were sub-par and didn’t make the grade. It’s also worth using a disk analyser tool such as WizTree to locate big files that are taking up a lot of hard drive space and aren’t being used so you can erase any large memory hogs.
Once your project is finished be sure to transfer the files from your pricey SSD to your cheaper HDD, to free up space for your next project. This saves you from having to buy a new expensive SSD drive when it gets full. Modern SSDs are incredibly durable and can withstand hundreds of terabytes of data being written over their lifespan, so there is no problem formatting them after you’ve transferred the contents to an HDD and backed them up properly.
3. Choose the right format
The more detailed and information-packed your files are, the larger they will be. So it’s more important now than ever to carefully assess whether you should shoot a scene in RAW or compressed JPEG. The same goes for recording video too, do you really need 8K or the highest possible bit rates, or is that overkill?
I often shoot in 4K which gets downsampled to 1080p for a lot of my social media content. While shooting 4K provides extra editing options (especially cropping), it is quite a wasteful way of working. You could also switch from the H.264 codec to H.265 which compresses 4K to half the size, with no visible loss in quality.
If you’re shooting on a compact camera with built-in picture styles such as the Fujifilm X100VI then it may be preferable to shoot in JPEG to make full use of its various film effects. If you’re shooting a lot of RAW files with pre-capture then you may want to consider switching from RAW to a compressed RAW format to save space, instead. It all depends on your style of photography and finding out the compromize that works for you.
4. Think twice before upgrading your camera
Before you jump into buying a new camera body you should also carefully assess the costs here, too. I’ve been lucky enough to get hands-on with the new Sony A7R VI, which produces mammoth 67MP files, at rates of up to 30 fps. This means memory cards and hard drives fill much more quickly than a camera with say 30MP, usually considered to be the ‘sweet spot’ for most general subjects.
Many of today’s pro cameras need pricier CFexpress type memory cards to unlock their full performance potential and avoid any bottlenecks to the memory buffer, rather than cheap and cheerful SD cards. So even if you find a deal you’re happy with for a new camera, there are hidden costs such as these pricier memory card types.
Another hidden cost of upgrading to a super high resolution camera is that your computer may struggle with the large stills and video. If that’s the case then you’re now not only forking out for a new camera, pricey CFexpress cards and hard drive storage, but you’ll also need to budget for a new high-end laptop or computer that’s capable of handing all of that data! The costs can rack up rather quickly.

5. Make use of free cloud storage
I always follow the 3-2-1 method for a secure and robust way of backing up my files; that’s backing up three times on at least two different types of media, with one copy kept off site.
For different types of media, this could be one HDD drive and another an SSD, or a DVD, memory stick or even cloud storage. The latter also helps tick the box for keeping one copy of your data off-site, too.
Cloud storage from reputable companies such as Backblaze is of course a great option, but you do have to pay a monthly subscription. For working professionals this is a solid reliable option worth the money.
However, for more casual photographers I’d recommend making full use of free cloud storage from companies like Google Drive (15GB), Microsoft OneDrive (5GB) and Apple iCloud (5GB). Of course, this isn’t a huge amount of free cloud storage, though if you’re clever you can ‘pool’ your free storage together from different companies and it can add up to something substantial. That being said, even the 5GB free options should be more than enough to store backups of your favorite JPEG photos.
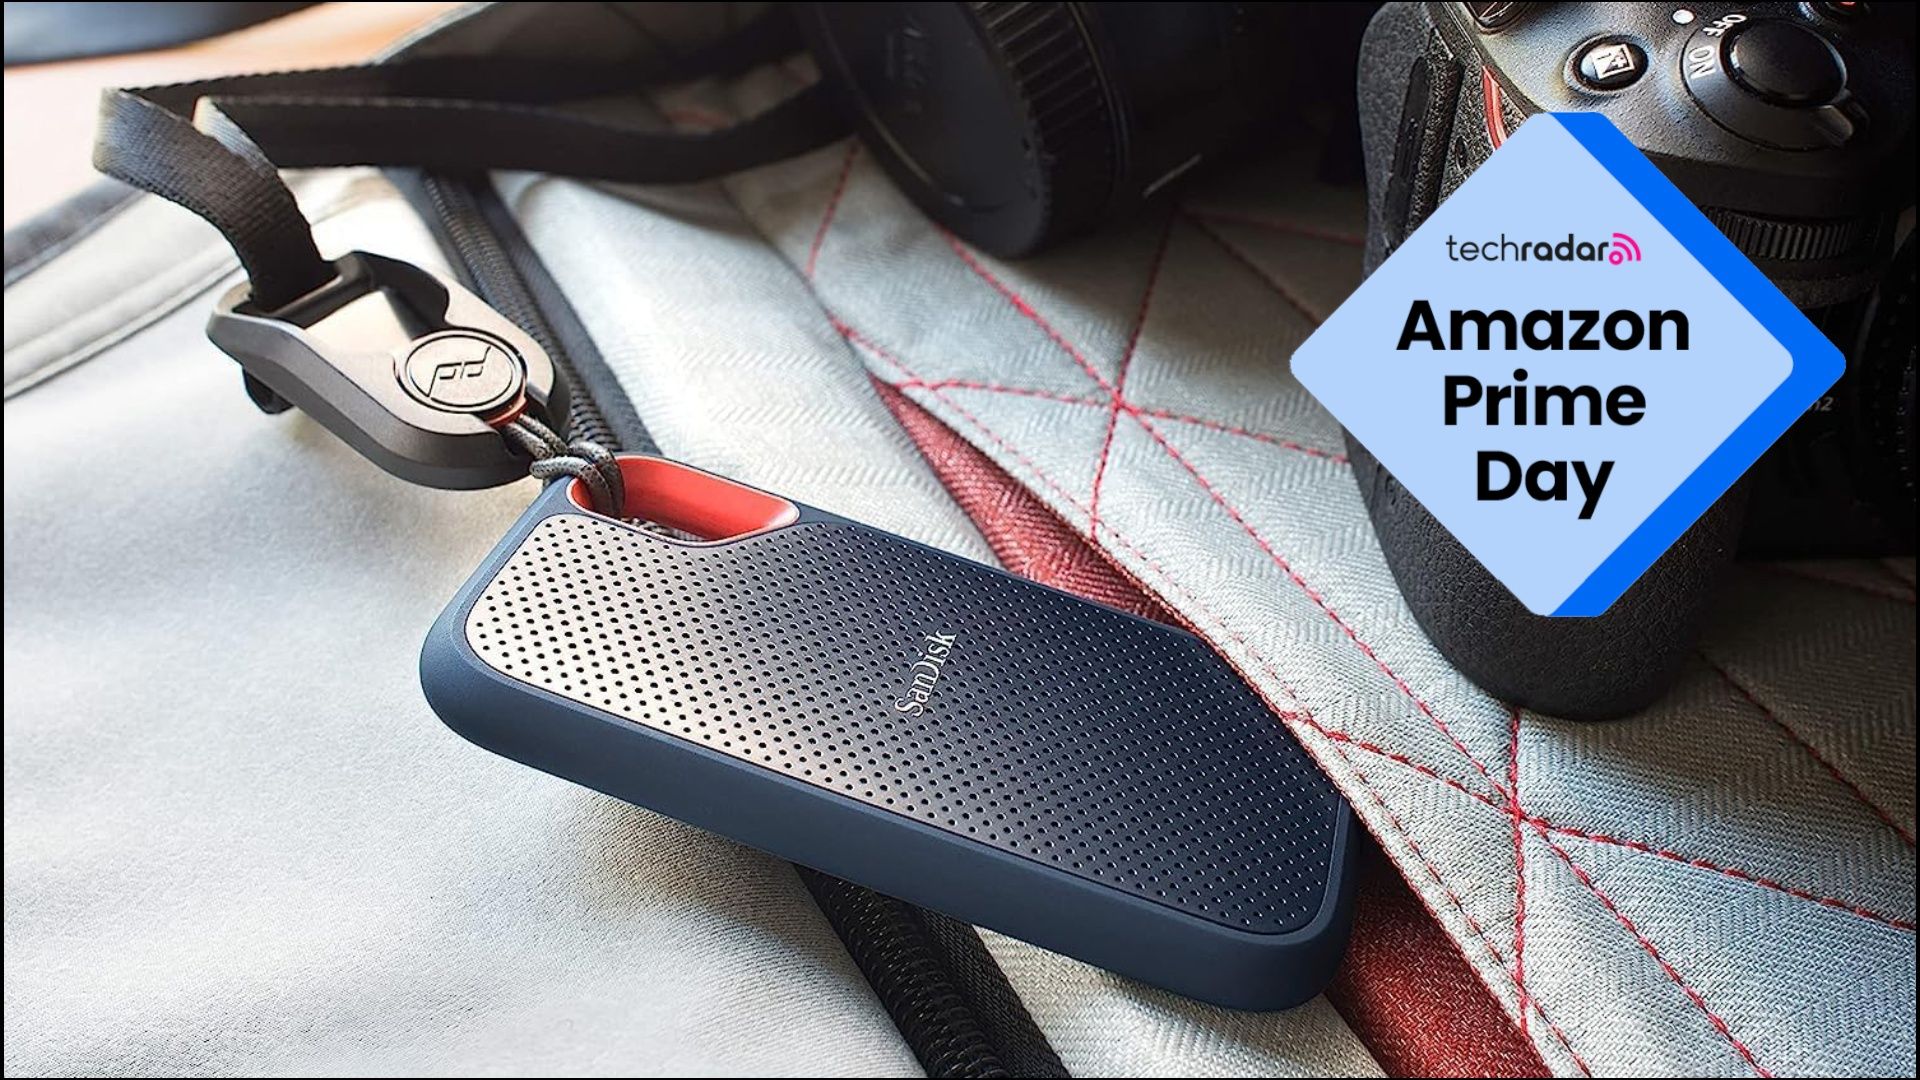
Save money today on the best portable SSD deals
Portable SSD deals are hard to come by right now, but I’ve included the best deals I’ve found at the time of writing, with discounts on tried and tested Samsung and SanDisk models.
Today’s best portable SSD deal (US)
Today’s best portable SSD deal (UK)
More Prime Day deals in the US
- Amazon Devices: Fire Sticks & Echo from $18
- Amazon Haul: viral gadgets, tech & appliances from $1.99
- Apple: MacBooks, AirPods & AirTags from $29
- Beauty: 50% off toothbrushes & hair tools
- Cheap TVs: smart TVs from $69.99
- Garden: tools, mowers, planters from $24.99
- Headphones: 50% off Beats, Bose & Samsung
- Laptops: Apple, HP & Dell from $199
- Mattresses: Sealy, Serta & more from $186
- Patio: outdoor furniture, rugs & decor from $19.99
- Sports: 50% off fitness gear, treadmills & clothing
- Vacuums: Dyson, Shark & Bissell from $34
More Prime Day deals in the UK

Follow TechRadar on Google News and add us as a preferred source to get our expert news, reviews, and opinion in your feeds.